
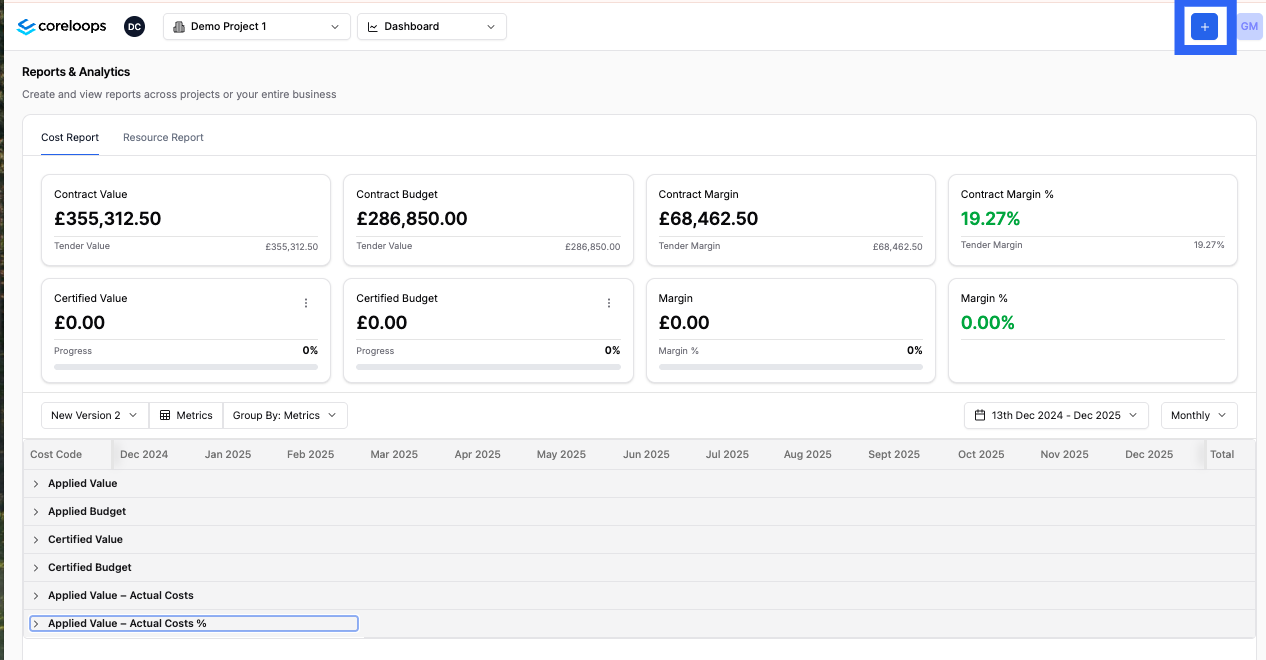
Create a Project
To create a project in Coreloops, click on the "+" button beside your profile icon in the right-hand corner of the Coreloops platform.
Fill in all of the required fields with details about your project
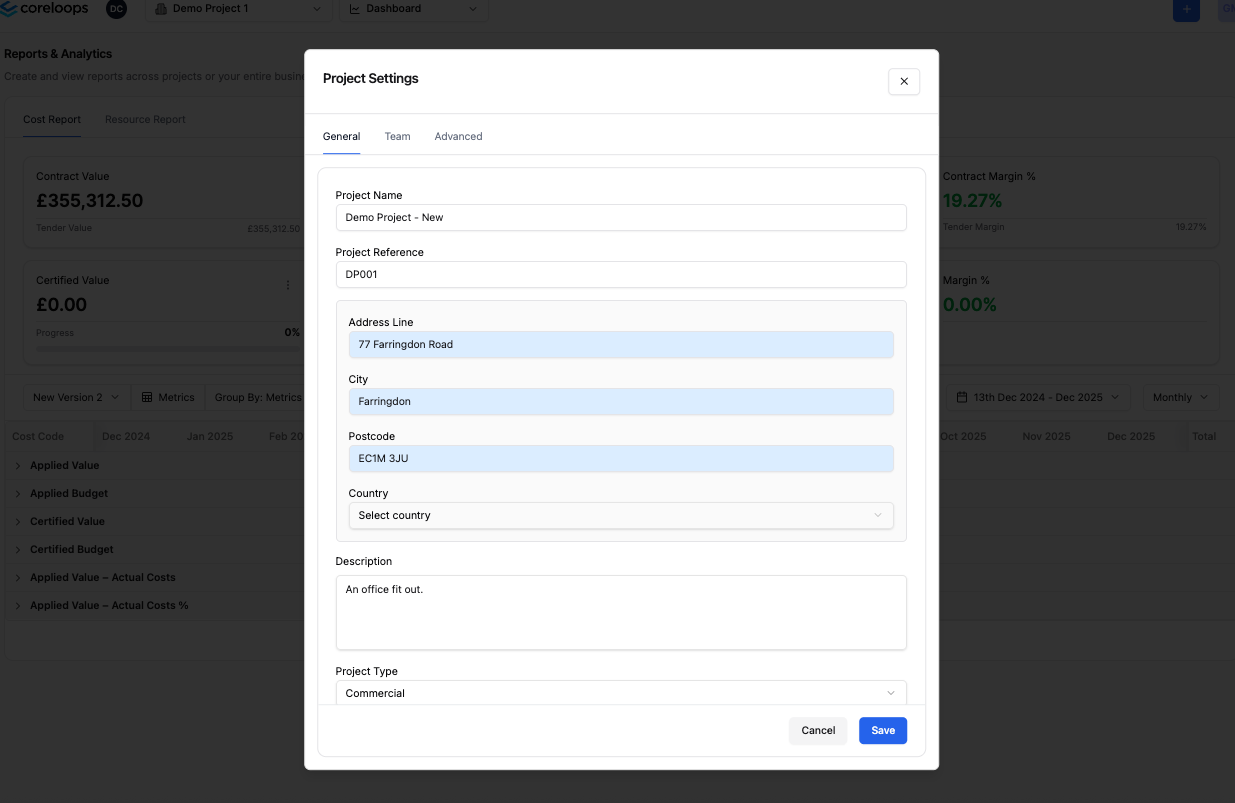
This is a quick summary of each of the fileds you'll be asked to fill in:
Field | Description | Required |
Project Name | The name of your project. This could be an internal name for the project or an address. | Yes |
Project Reference | This is an ID for your project. It can be used as a reference on financial documents which will assist Corepilot in assigning your documents to the right cost codes. | Yes |
Address | The address of the project. This field will also be used to help CorePilot determine which project a financial document should be assigned to. For example if an invoice or delivery note has teh same dleivery address it will be allocated to this cost code. | Yes |
Description | A brief description that will help anyone on your team understand what the project is about. | |
Contract Type | The type of contract this project is governed by e.g. JCT, NEC 4 etc | Yes |
Project Type | The type of building that this project will be taking place in or developing e.g. a hospital, residential etc | |
Client | The client or employer you are working for on this project. This will be used to populate sales invoices, variation orders and payment applications. | Yes |
Start & End Date | The proposed start and end date for the project. This can be updated in future. | Yes. |
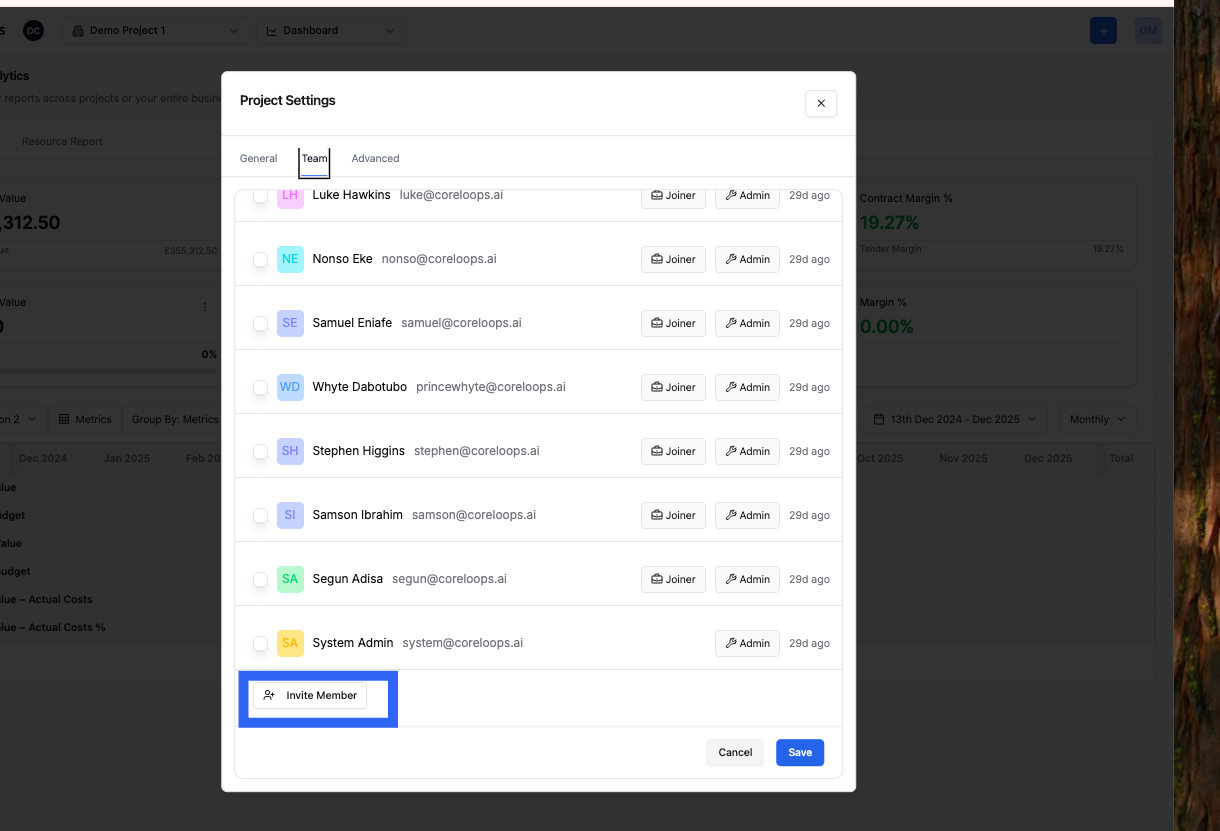
Adding Team Members to a project
By default, all admins have access to all projects. Members need to be added to a project individually. You can also select which members can be added to a project individually by navigating to the team tab.
Once you've filled in all the required fields and added the relvant team members you can click save and your new project has been created.