How to set up your directory
Your Directory is the area where you store all of the information about your clients, suppliers and subcontractors. This is where you can update their details and settings and see all of your interactions and transactions with them.
Written By Gabriel Makinwa
Last updated About 2 months ago
Note: You can add contacts for your suppliers and clients. We know that most suppliers don’t need or won’t have a contact, so this is not required. However, all contacts must belong to either a client or supplier profile. You can use contact details to communicate with your suppliers and invite them to the supplier portal.
You can add contacts, suppliers and clients individually, from your accounting system or by importing them in a CSV.
Your Directory
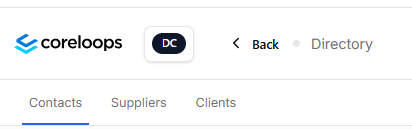
This is a space in Coreloops where you can have a list of all the people and companies relevant to your work. Your directory is broken up into 3 different sections:
Contacts: Contacts are people who are relevant to the projects. These can be subcontractors, labourers, project managers, etc.
Suppliers: This is a list of all the suppliers you work with on a project. This will link specifically to companies to whom you will send invoices and POs, or vice versa.
Clients: A list of companies that are not suppliers that you want to have inside of Coreloops
Adding Contacts
You can add contacts in three ways:
Manually adding individual contacts
Uploading several contacts in bulk
Syncing already existing contacts from your Accounting Software
To add a contact individually:
Click on your profile in the top right and go to Directory

Click on the 'Add New' button in the right-hand corner.
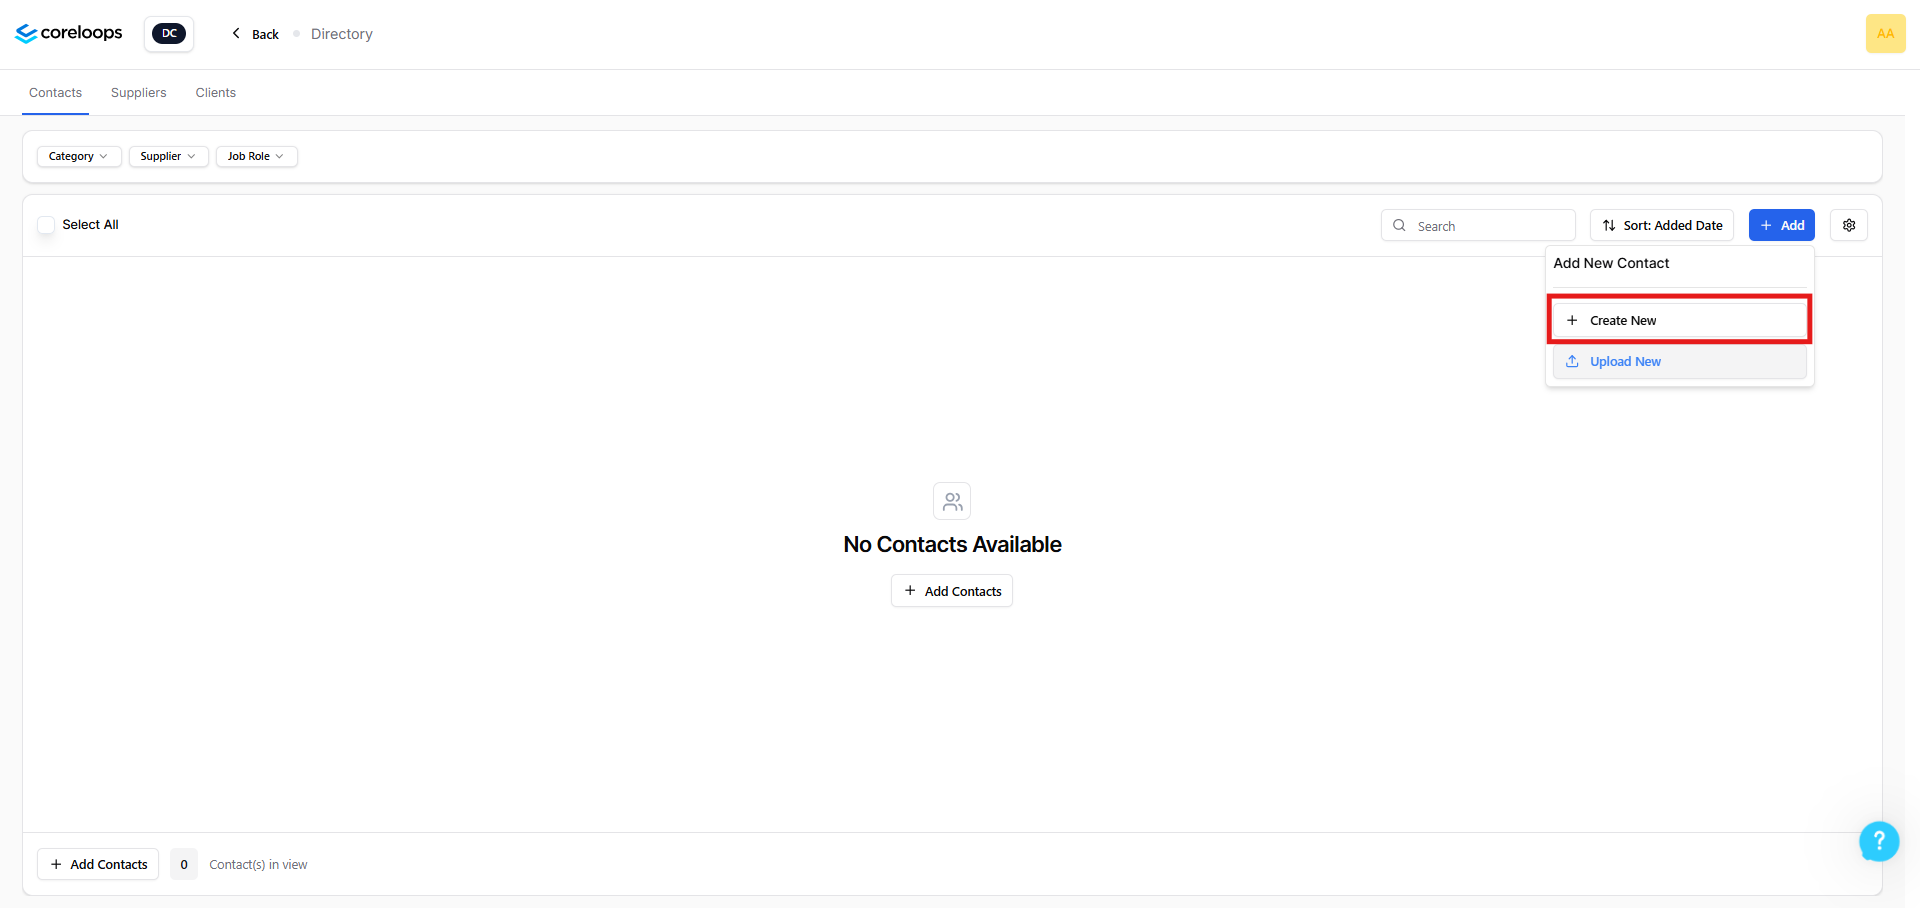
Select Create New.
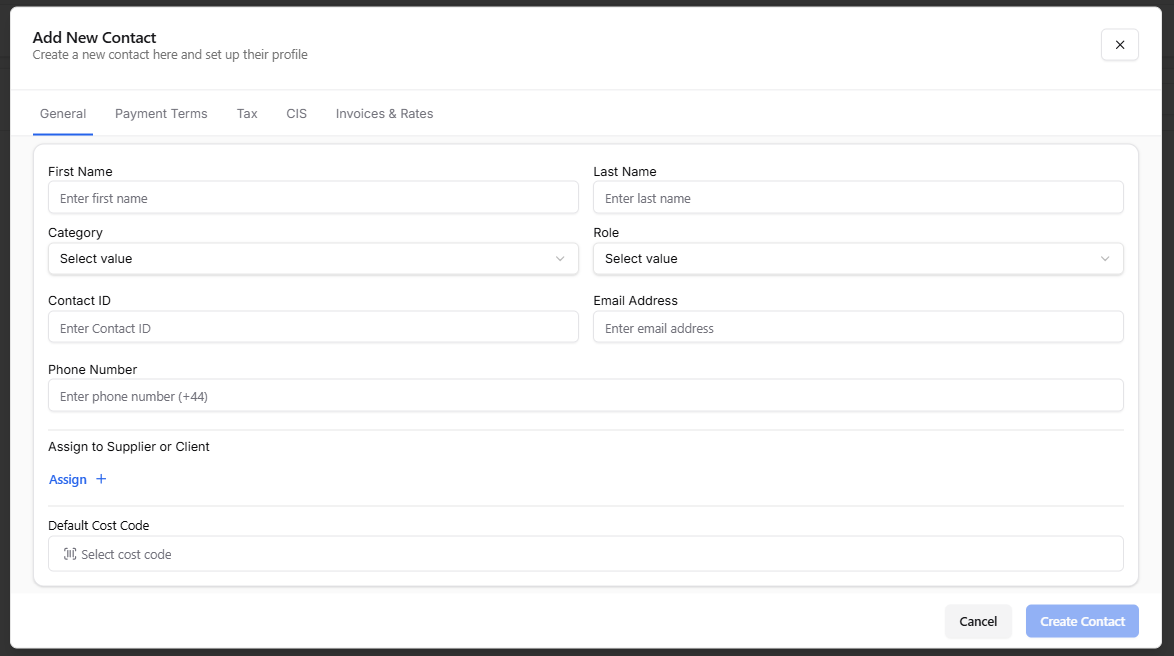
In the General Tab, enter the contact details:
First and Last Name*
Email Address*
Category
Role
Phone Number
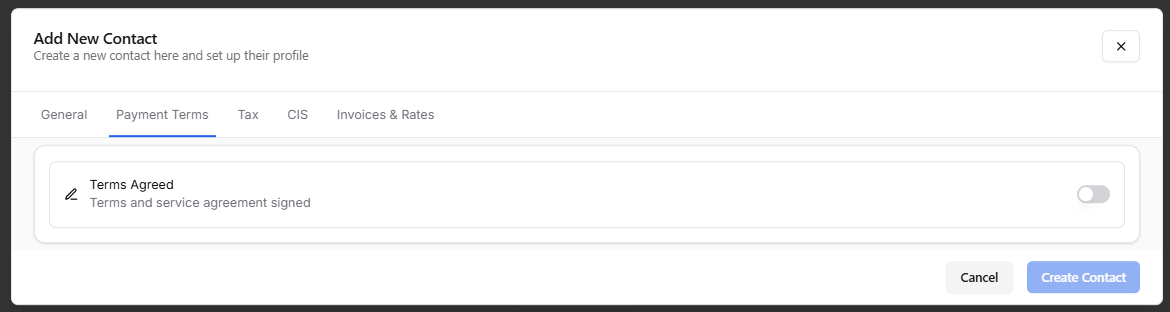
The Payment Terms Tab:
Allows you to set the payment terms agreed in the system
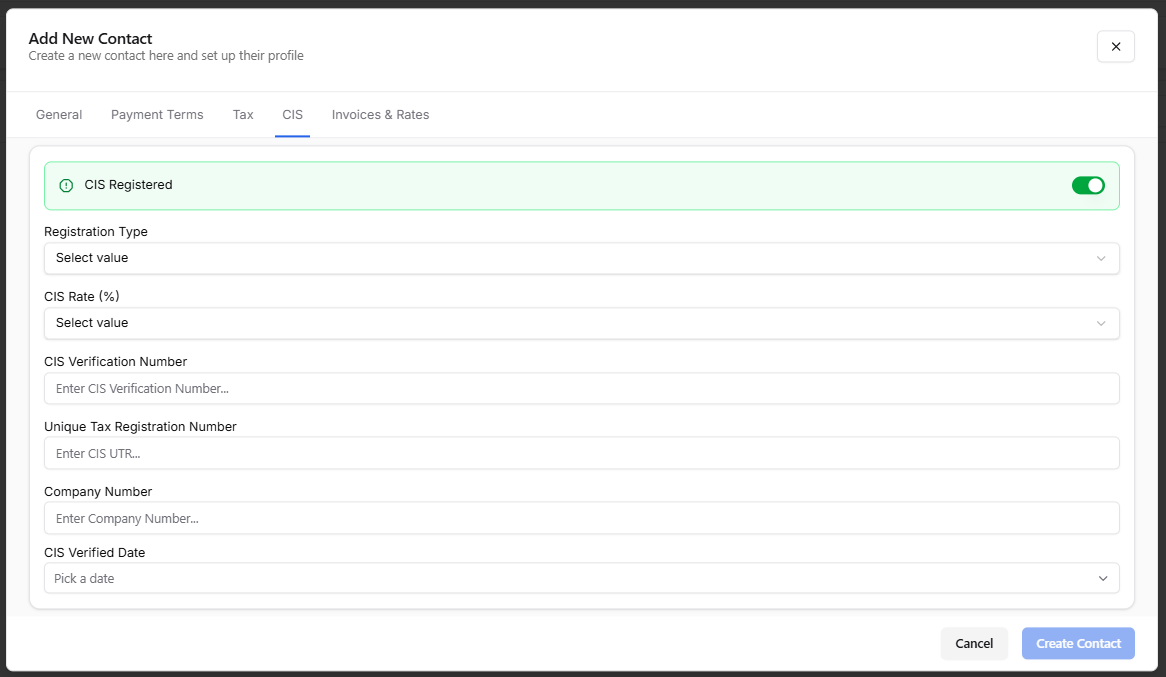
CIS tab - allows you to set these for contacts who are CIS registered
If a contact is CIS Registered, you can enter all their CIS information.
Invoices and Rates Tab:
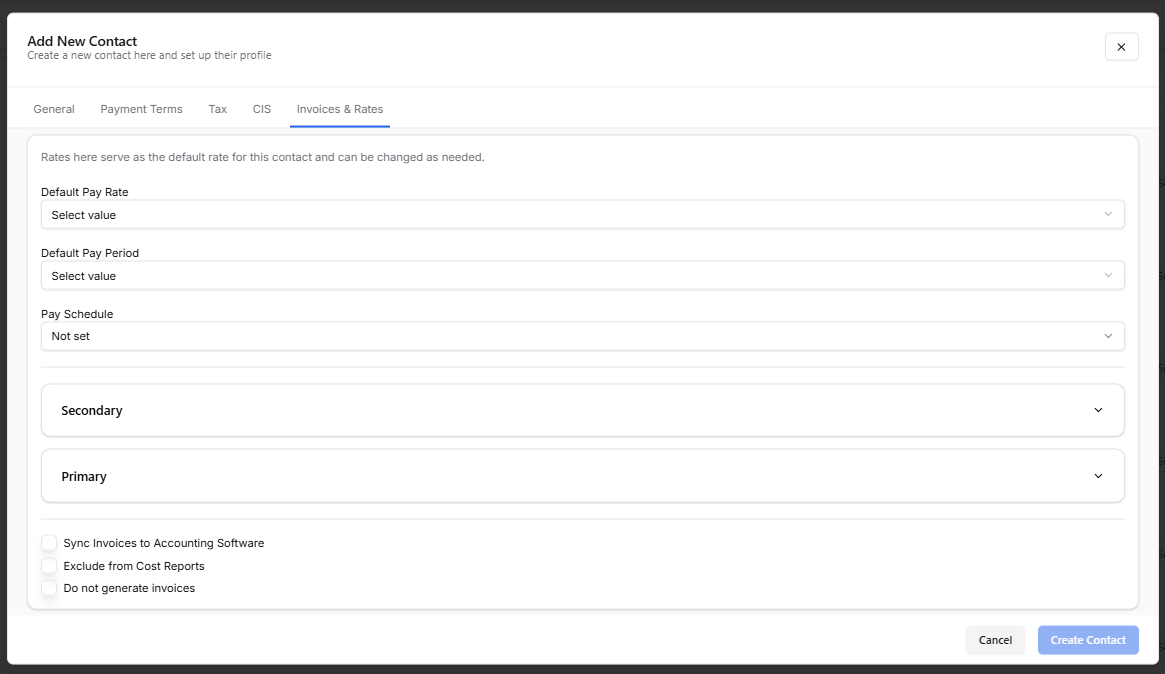
Here you can set
Default Pay Rates
Default Pay Period
Pay Schedule
Set Rates for Clients depending on the rate types and groups you have set up in the system. For more about this, read about it here
Toggle the following - all off by default:
Sync to Accounting Software - When turned on, Invoices relating to this client will be synced to your accounting software
Exclude from Cost Reports - When toggled, any invoices and timesheets relating to this client will not be pulled into the Cost Reports found in the dashboard
Once you’ve added a contact to your directory, you can edit their details by clicking the 3 dots beside their name in the contacts tab.
Only the fields marked* are required.
Add contacts via Bulk Import
If you want to import several contacts at once it might be easier to use our Bulk Import feature. You can import a CSV with several clients and add them all at once.
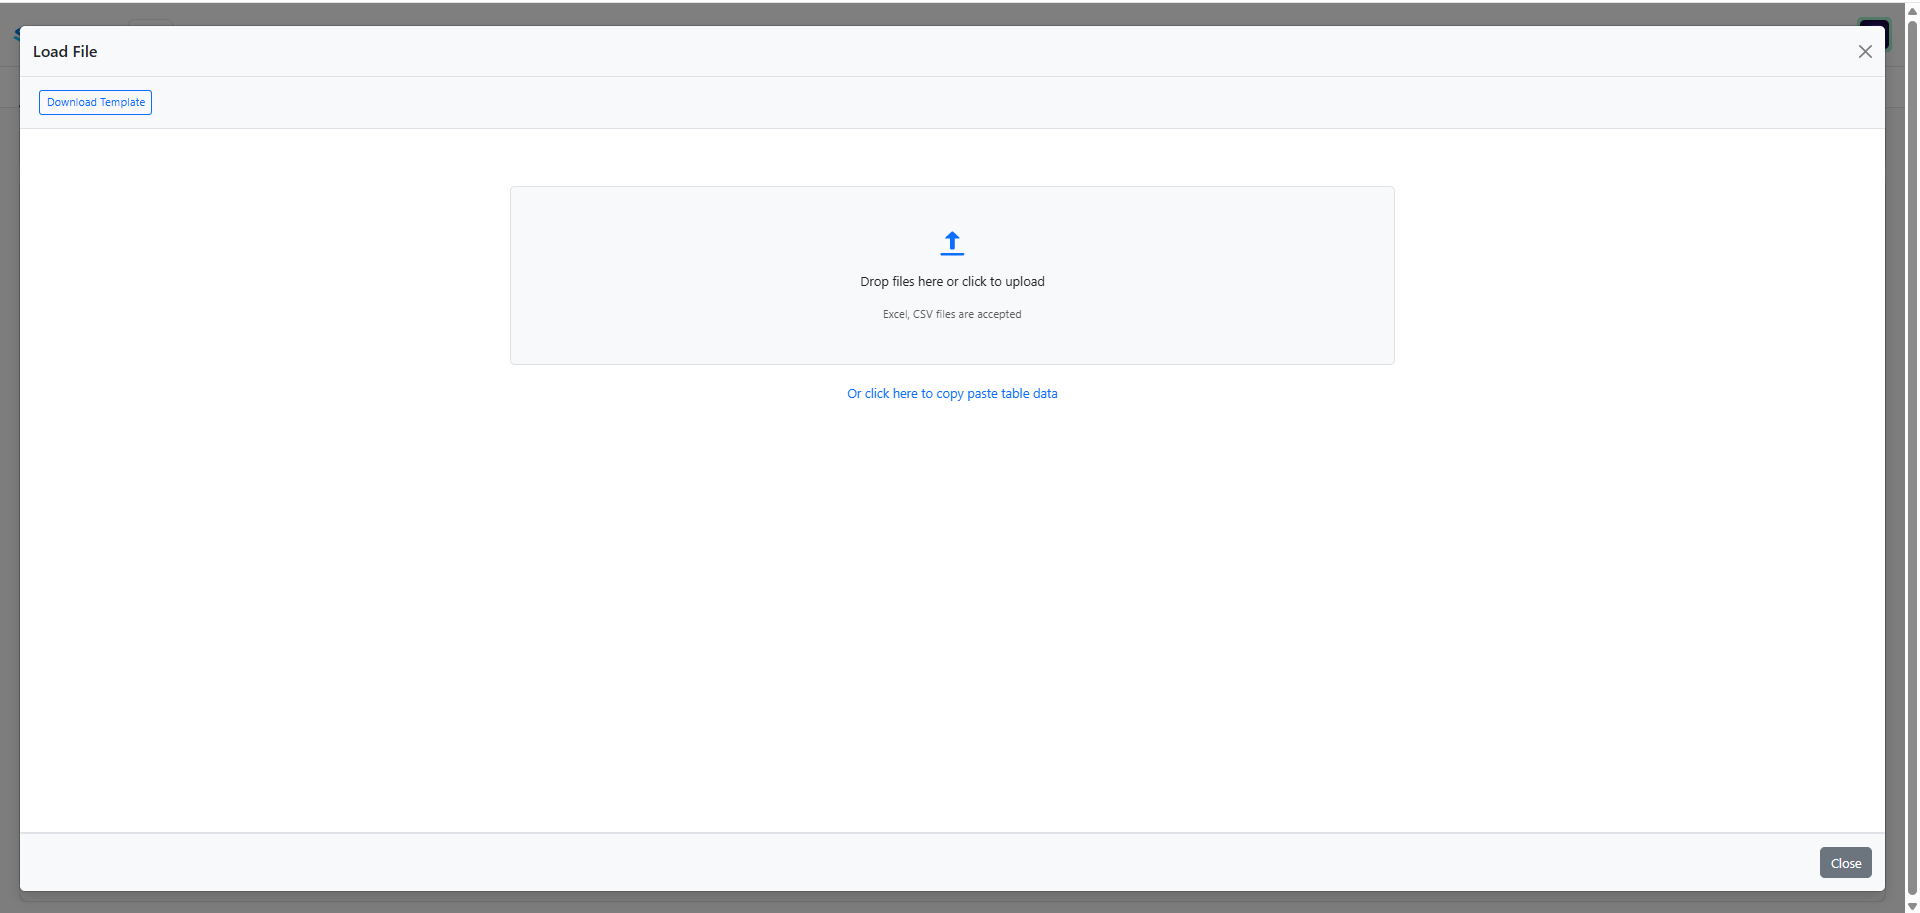
In the Contacts Tab, click on Upload New.
You can download our CSV template and fill it in or upload your own CSV.
The CSV can include the following details for each Client: Contact First and Last Name, Category, Job Title, Company, Email Address & Phone Number
Adding Suppliers
To add a supplier individually:
Go to Directory, then the Suppliers tab

Click on the Create New button in the right-hand corner. Select Supplier.
Enter the supplier details under the General Tab
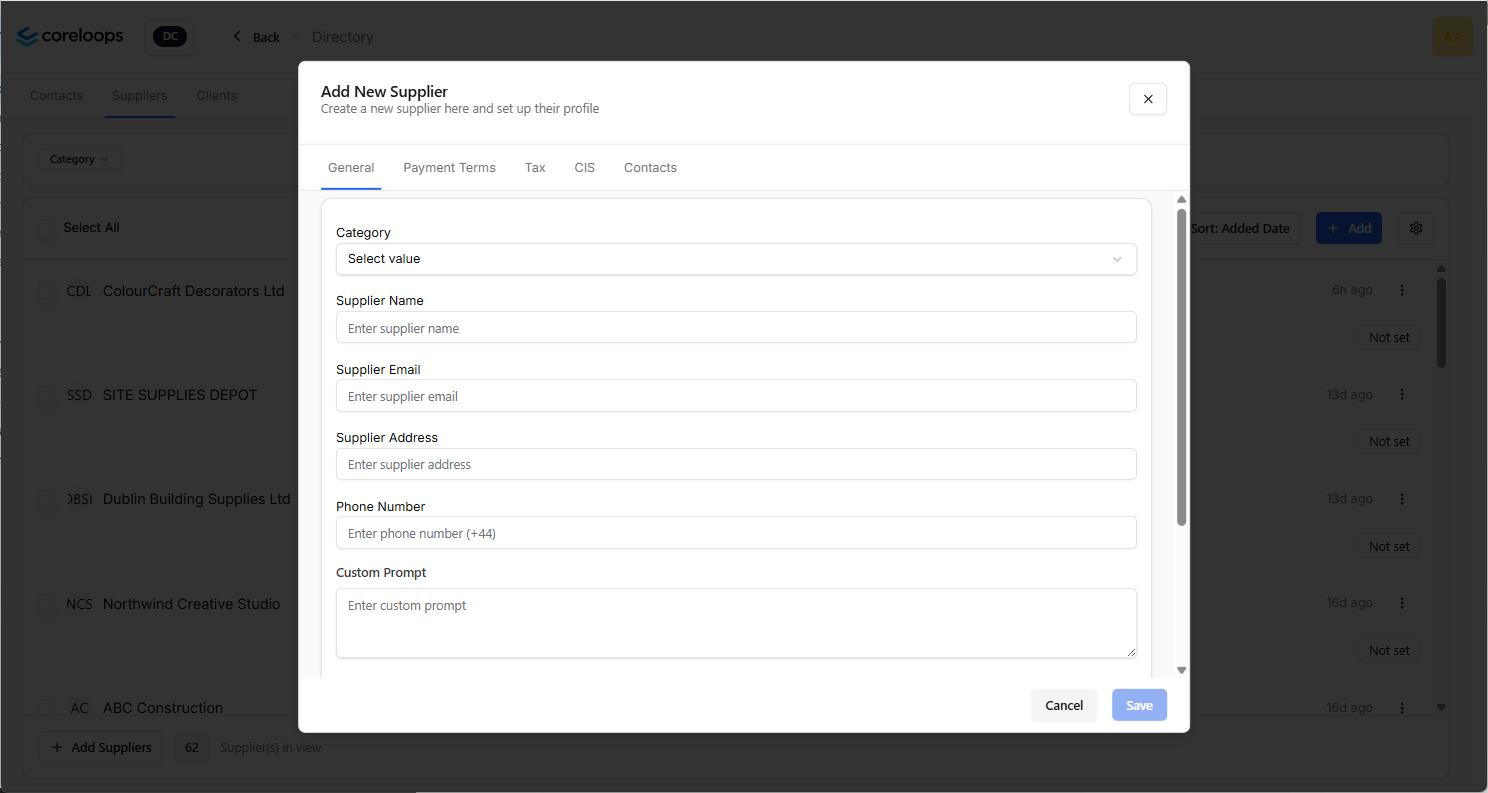
Specialist Category: Enter the category of supplier you are adding. This data will be useful in future to show you which categories you are spending on.
Supplier Name: The full company name, as you would expect it to be on official documents e.g. JL & Sons Ltd
Email*: The email associated with the supplier
Supplier contacts: This is where you can add a new existing contact to this supplier. You can send information from Coreloops to this contact in future.
Phone Number: This is a phone number for the company.
Custom Prompt: This is a prompt that provides Corepilot with more information on what to do when documents for this supplier come into the system
The Payment Terms Tab:
Allows you to set the payment terms agreed in the system
Tax Tab: allows you to set information regarding VAT for the supplier (Both off by default)
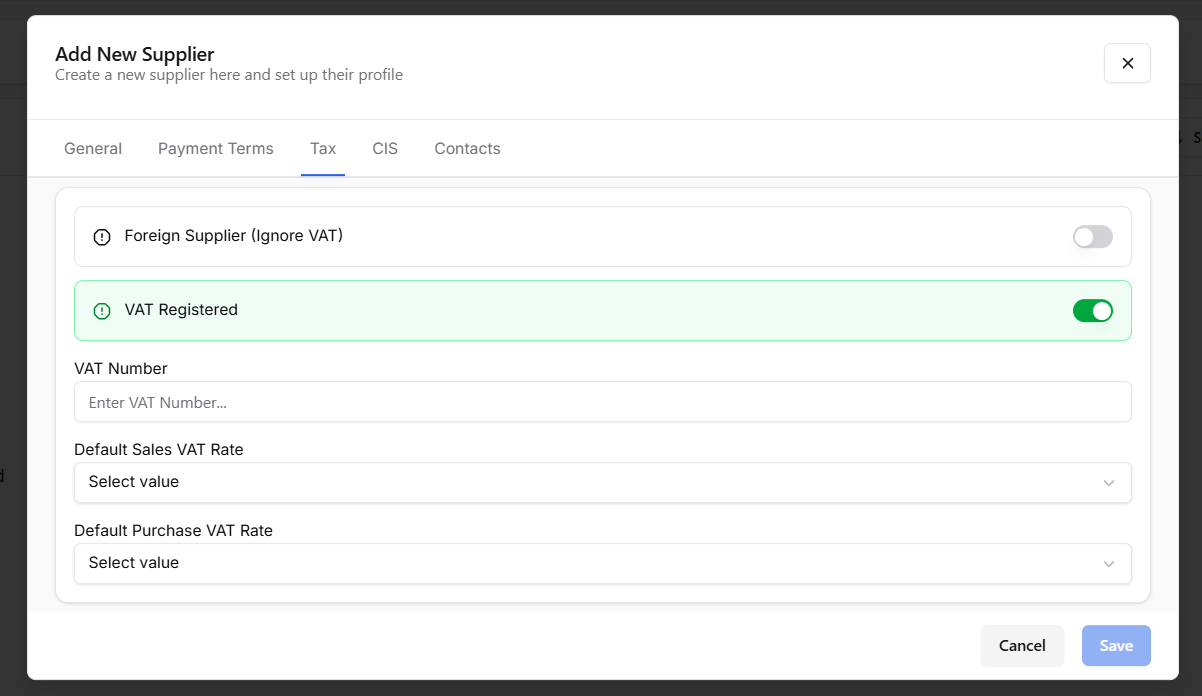
Foreign Supplier - toggle this if the supplier is not based in the same country that you are, this means any VAT on documents coming from them will be ignored
VAT Registered - If the supplier is VAT registered, you can toggle this setting and enter the details
CIS Tab* - For companies that are CIS registered; add in their CIS rate. arrangements
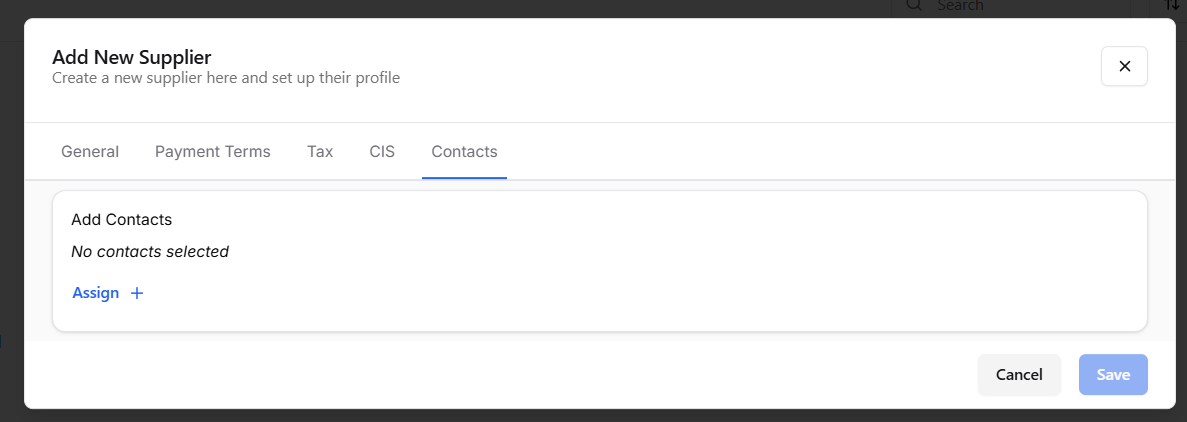
Contacts Tab - This allows you to link contacts from your directory to a supplier
Add suppliers via Bulk Import
If you want to import several suppliers at once it might be easier to use our Bulk Import feature. You can import a CSV with several suppliers and add them all at once.

In the Directory page, click on Upload New.
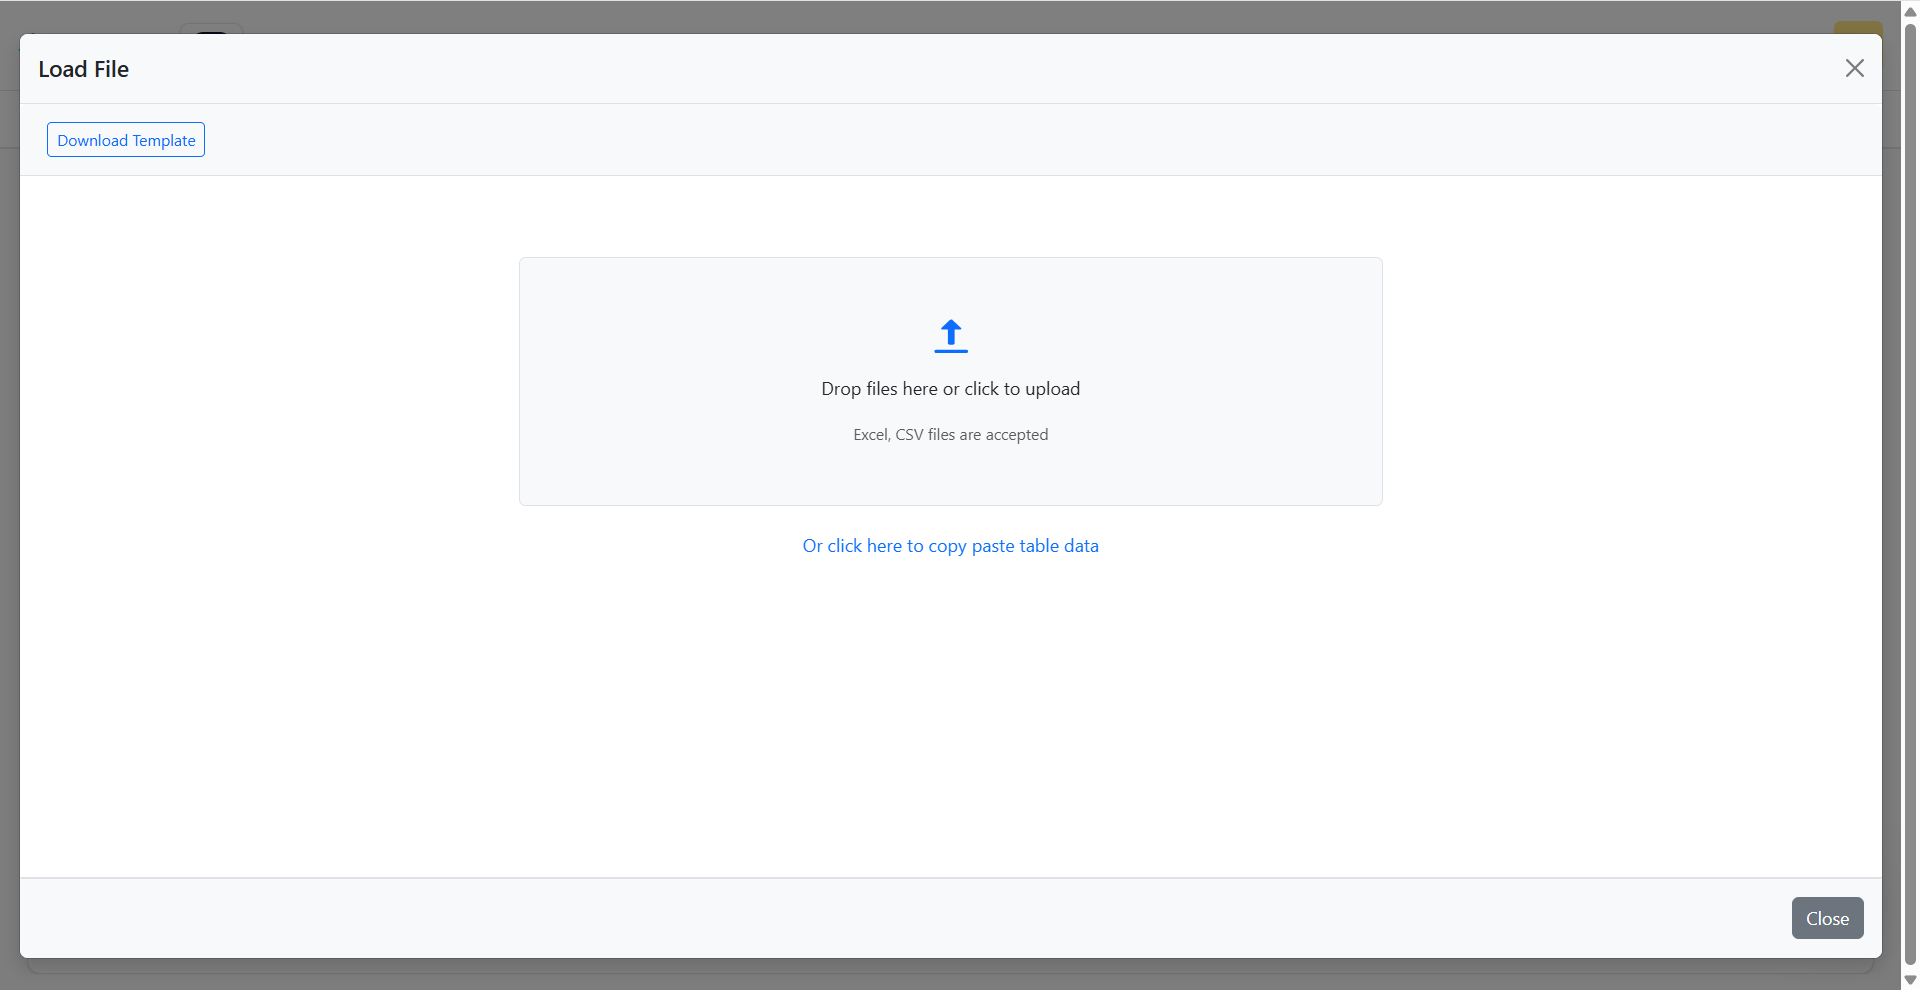
You can download our CSV template and fill it in or upload your own CSV.
Select the header row and map columns.
Review import and save
*CIS Rate: This will feed into documents like invoices generated from timesheets or any other arrangement where you are generating invoices for your suppliers/subcontractors, e.g. self-billing.
*VAT Rate: When bills are sent to your accounting system. Each line item of the bill is mapped to an account. This account may have a default VAT rate which will override the actual VAT rate of the invoice. To avoid this, entering the VAT rate here will override the account VAT rate for invoices from this supplier.
Adding Clients
To add a client individually:
Select Directory, go to the Clients Tab

Click on 'Create New'
Enter the client details in the General tab. The required fields are marked with a red asterisk*
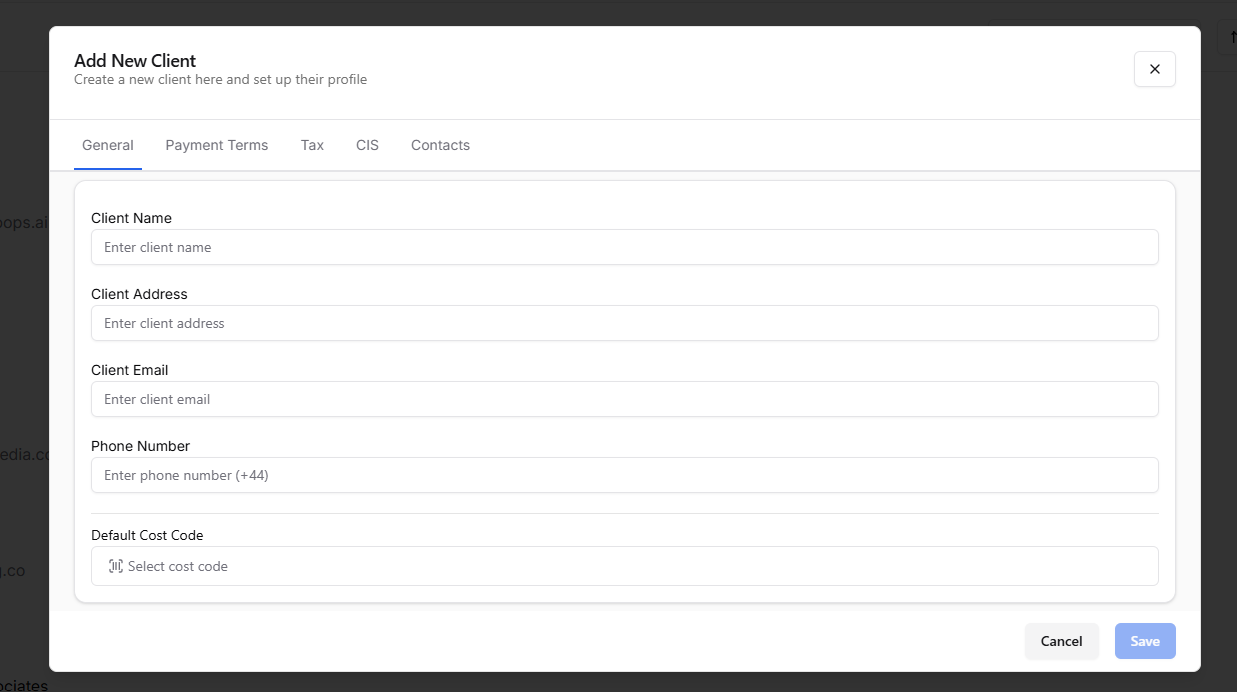
Client Name:
Client Address
Client Email Address: Select the default email address for this client.
Client Phone Number
Payment Terms
Tax
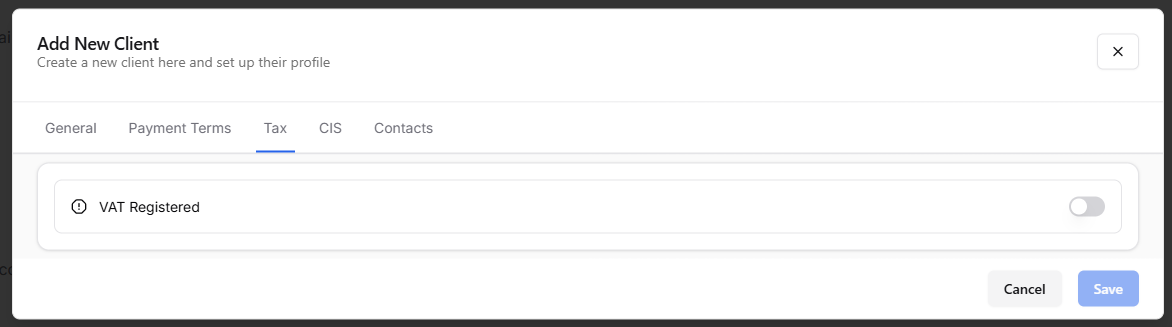
CIS
Contacts Tab:
Select Contact: You can select an existing contact or add a new contact here.
Only the fields marked with the red asterisk* are required.
Once you’ve added a client, you can edit their details by clicking the 3 dots beside their name in the 'Clients' tab.
Add clients via Bulk Import

If you want to import several clients at once, it might be easier to use our Bulk Import feature. You can import a CSV with several clients and add them all at once.
In the Clients Tab, click on Upload New.
You can download our CSV template and fill it in or upload your own file.
Select Header row and map columns
Review import and save
Importing from your accounting system:
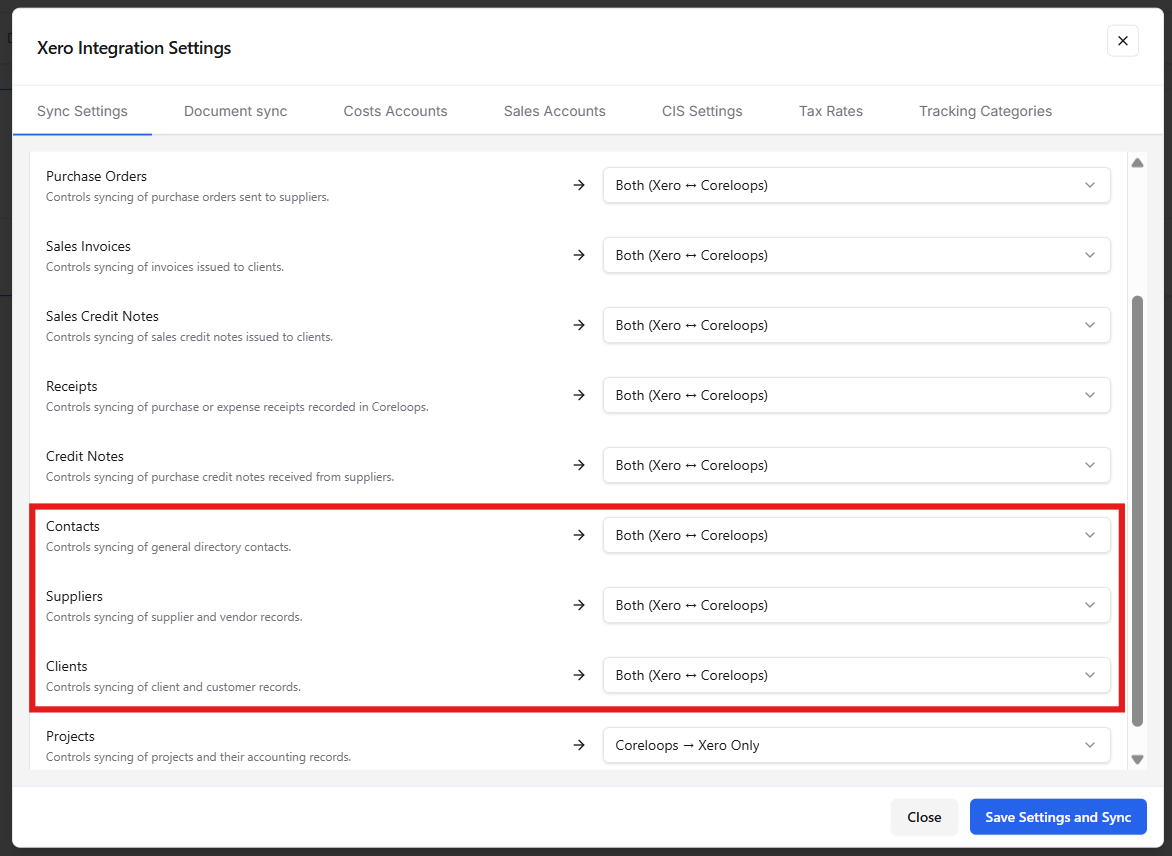
Once you’ve connected your accounting system, you’ll be prompted to import your contacts and suppliers. If you want to add more contacts after the initial import, an admin can do this in the Integration settings page.
Was this helpful?
Still need help? Ask the team