How to Create a New Project
How to start and create a new project in Coreloops.
Written By Gabriel Makinwa
Last updated About 2 months ago
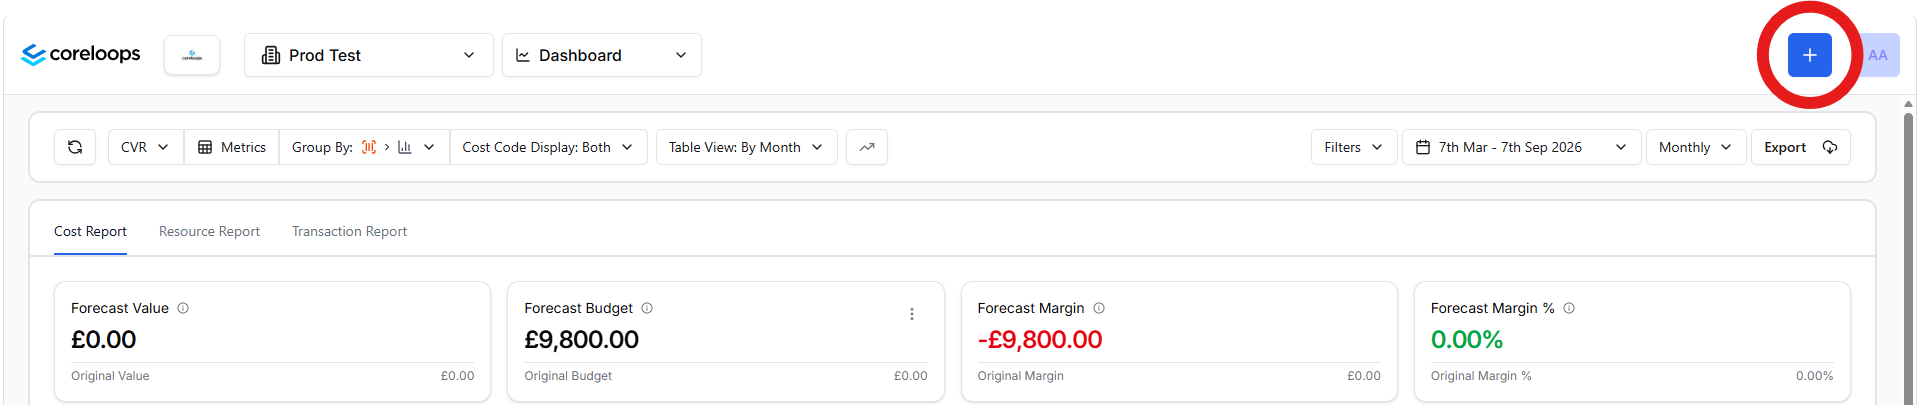
To create a project in Coreloops, click on the "+" button beside your profile icon in the right-hand corner of the Coreloops platform.
The General Tab will require you to fill in all of the details about your project
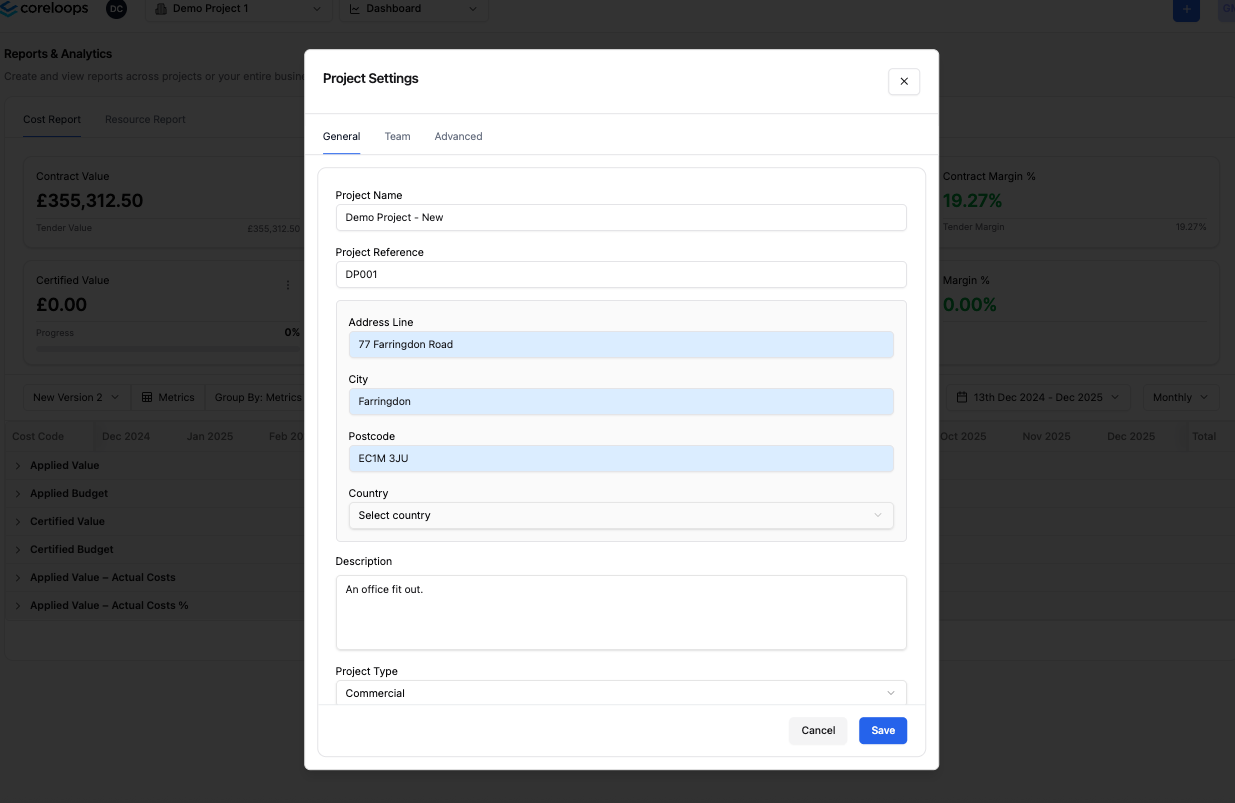
This is a quick summary of each of the fields you'll be asked to fill in:
Contract Details
The contract details tab is where you can upload the information about the contract
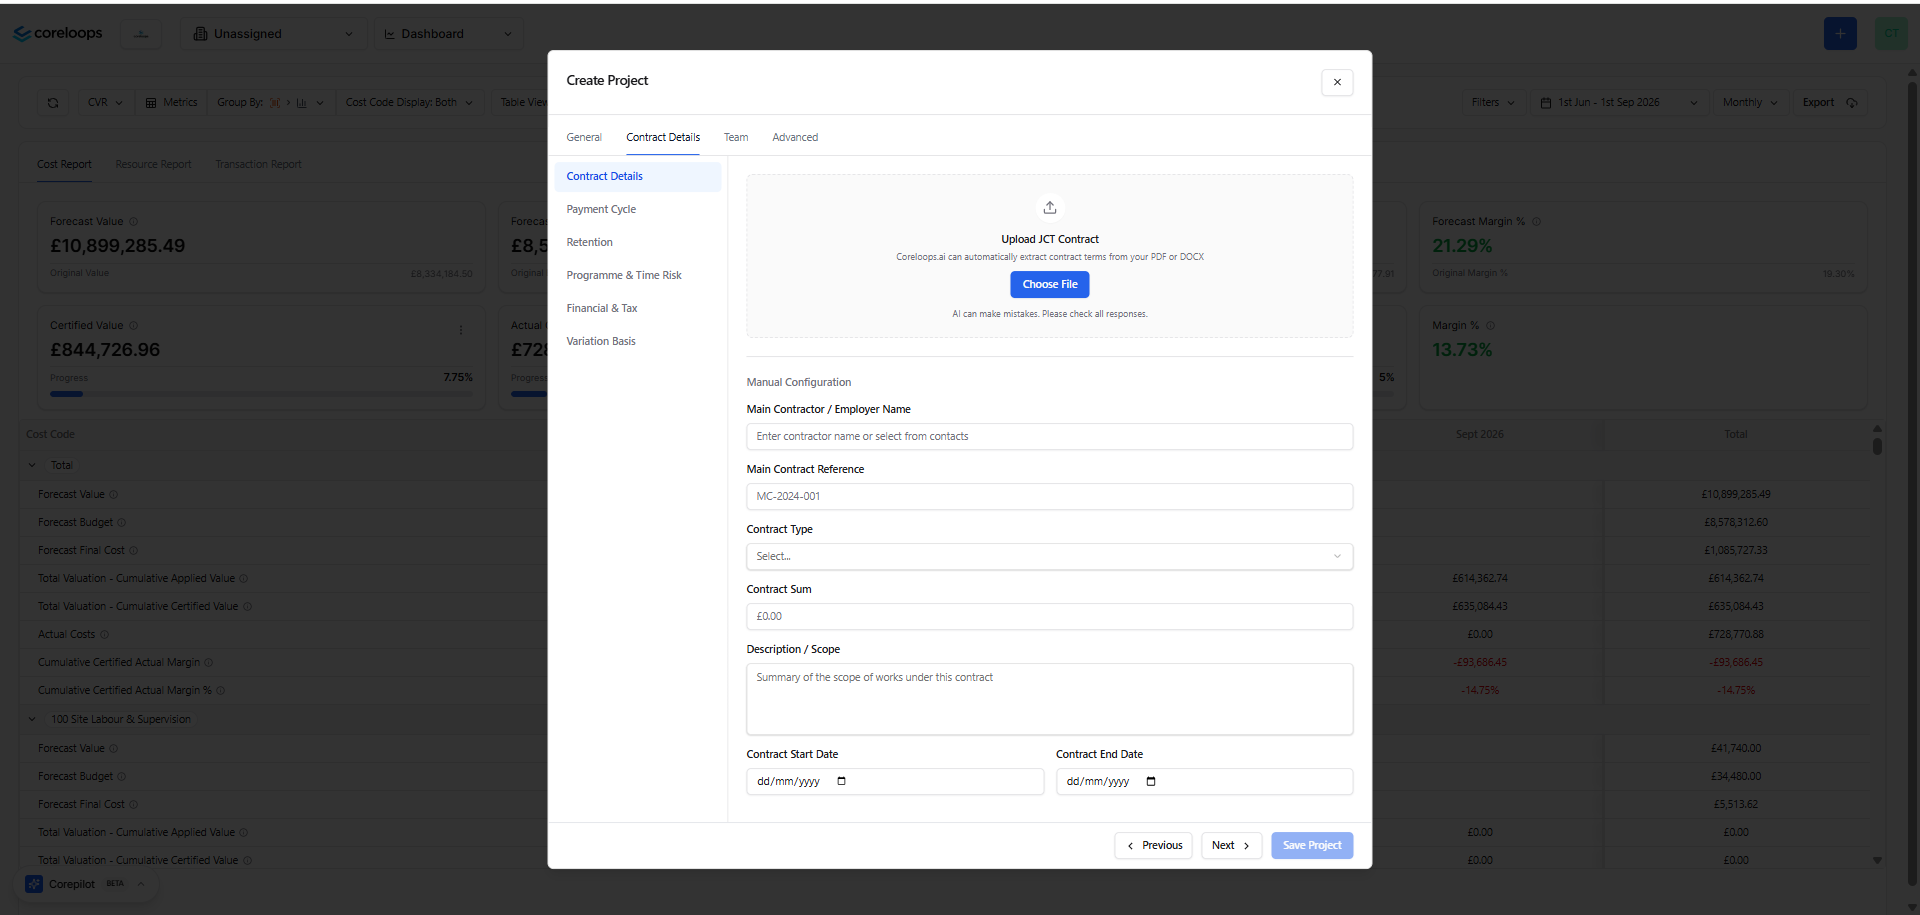
You are able to upload the actual contract into the system, and this will prefill the details. If you upload your contract, we recommend double-checking all responses before saving (you can return to project settings and change the details later).
Under the Payment Cycle tab, you will be able to set up rules that relate to specific key dates within the project. You can set rules for the following: Valuation date, Application Submission Reminder, Due Date, Payment Notice Deadline, Final Date for Payment, Pay Less Notice Deadline. You can also set a submission email
Adding Team Members to a project
By default, all admins have access to all projects. Members need to be added to a project individually. You can also select which members can be added to a project individually by navigating to the team tab.
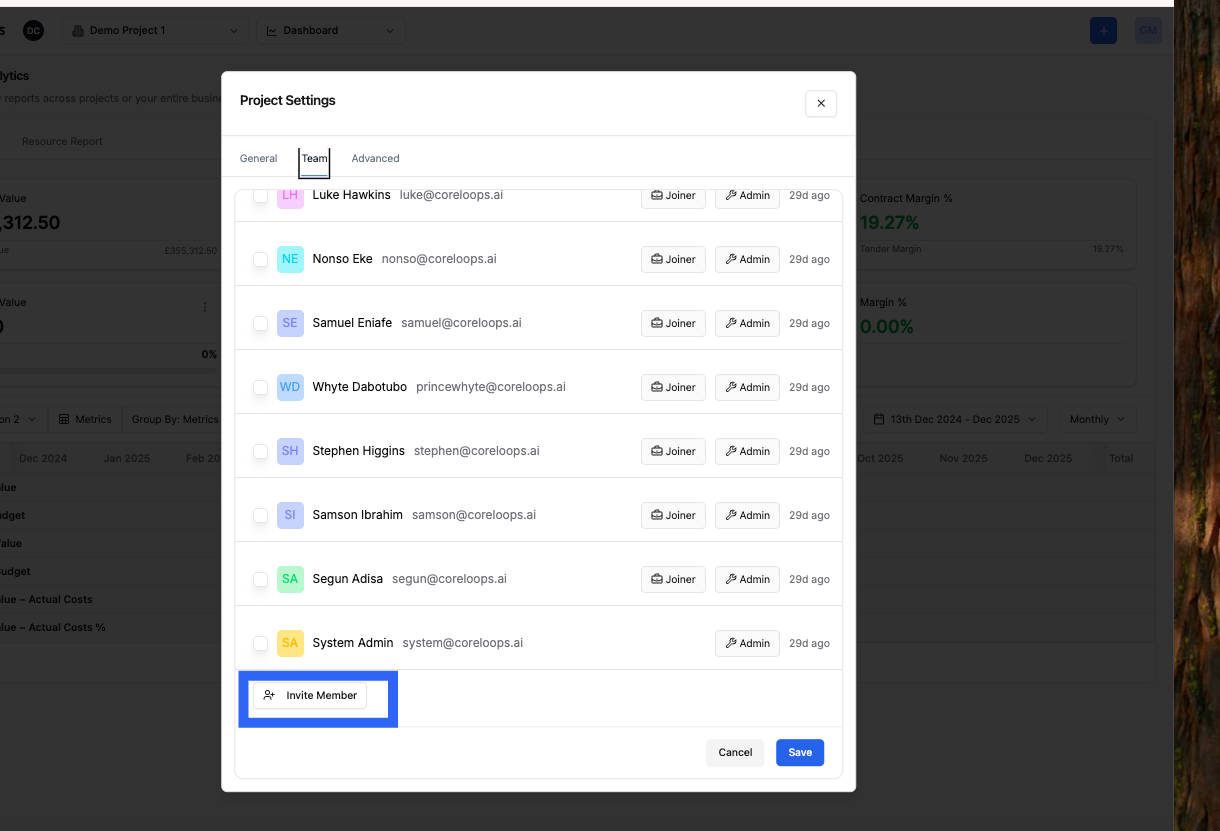
Once you have filled in all the required fields and added the relevant team members, you can click Save, and your new project will be created. It will now be visible in the drop-down menu on any screen
Advanced Settings:
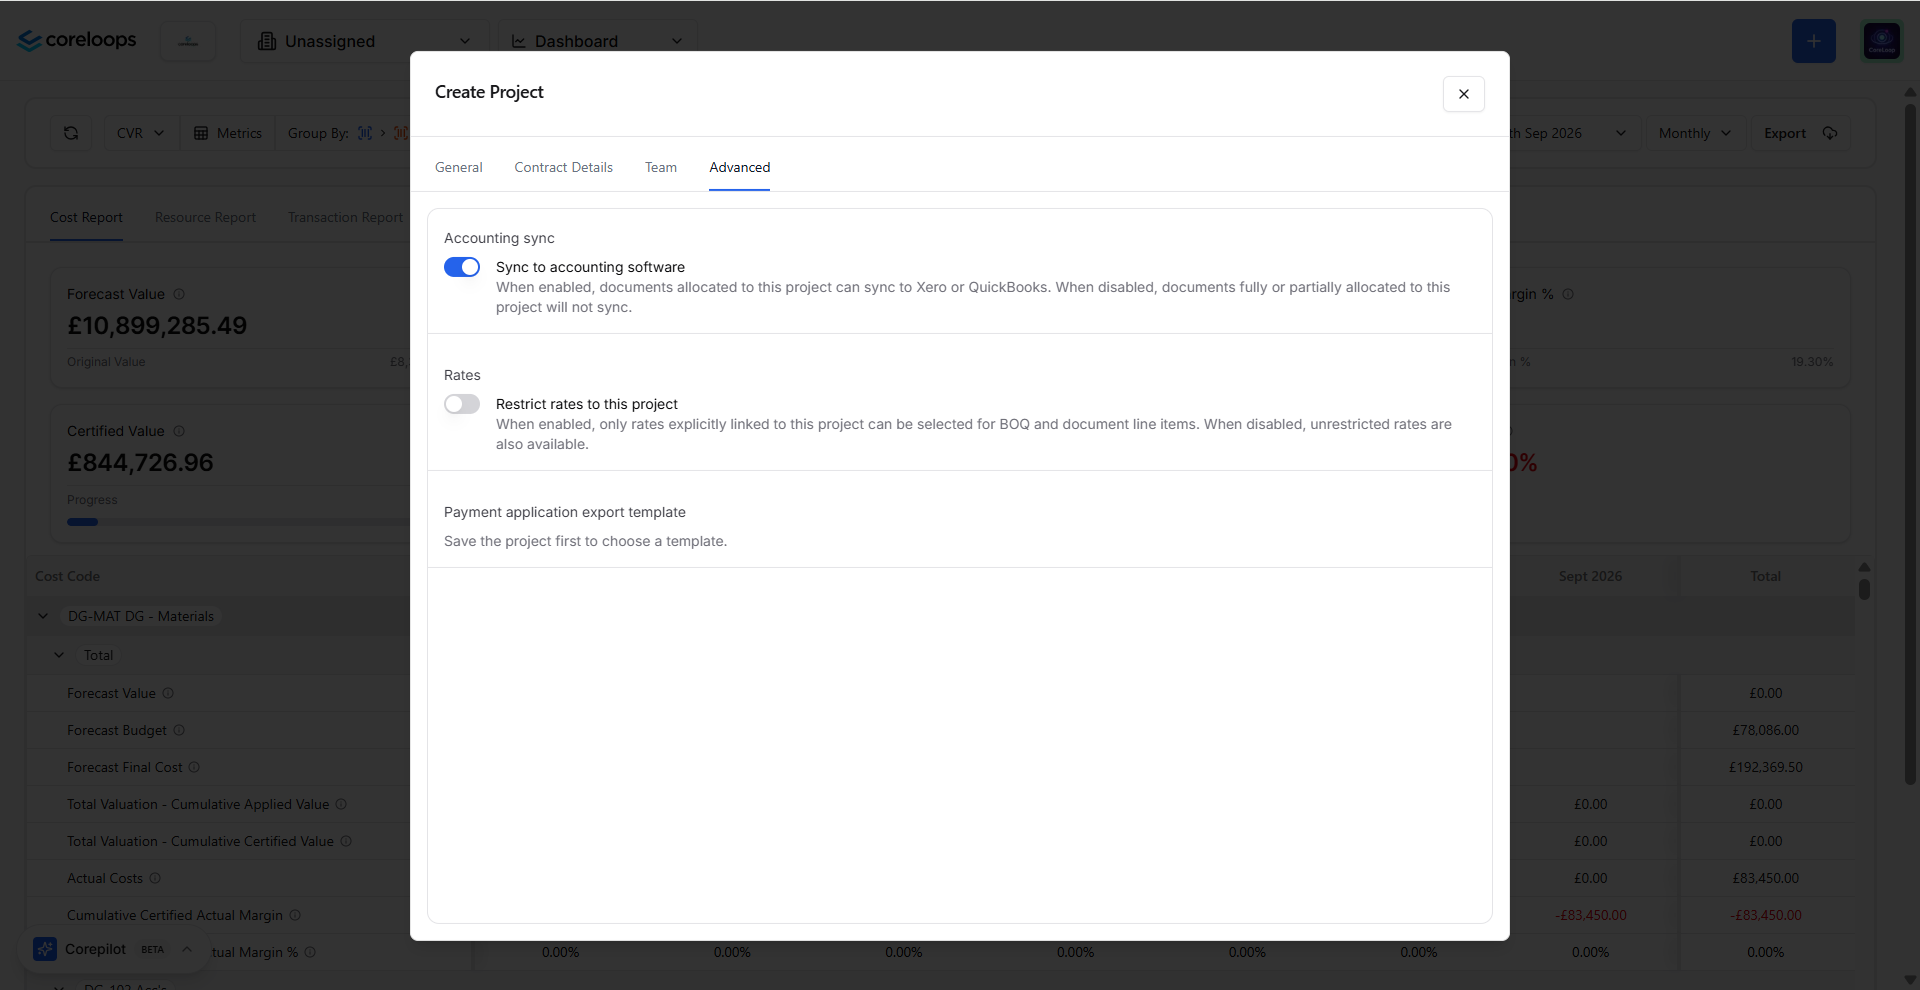
The Advanced Settings section allows you to:
Toggle Syncing with your accounting software: If this setting is off any documents allocated in any way to this project will not sync with the accounting software platform you have linked
Restrict Rates: With this enabled, only rates that are linked to that project will be able to be applied.
Was this helpful?
Still need help? Ask the team